Wednesday, August 6, 2014

Doctor Who, Redux

I just realized that I didn't put up the Doctor Who Party information from our latest party.  Here's the scoop:
David Tennant always leads the way.
Firstly, I think it was very helpful that, between the last event and this one, I managed to get myself completely hooked on this show, so I understood the fandom and was better able to serve my fellow geeks.

Unlike last time, when I did a full-day (10 am to 4 pm) Doctor Who program, I decided to do a 2-hour party.  It was much less work, and we still got a huge crowd!  Here are the numbers:
Last time: 6 hours                       This time: 2 hours
Last time: Saturday                     This time: Friday afternoon
Last time: 6 episodes                  This time: 1 episode
Last time: 42 attendees               This time: 39 attendees

The first time I did a DW event, I vastly under-estimated the amount of people who would be interested. I made a cake (decorated with a Cyberman head), which was gone by noon, and ended up sending someone for more popcorn; all-told, we went through 13 bags of microwave popcorn, countless pitchers of lemonade, and everyone was still clamoring for food at the end.  And I was tired and grouchy and overwhelmed.

This time, I planned ahead. We had themed snacks: jelly babies (gummy bears), TARDIS lemonade (it was blue), Adipose cookies, and fish fingers with custard (vanilla pudding and gummy fish).  It was a huge hit.  We still ran out, but we didn't run out until the very end, and everyone was happy and really enjoyed the snacks.
Adipose cookies
The Adipose cookies were very easy.  It was regular sugar cookie dough from a mix, and then I assembled them on the baking sheet (before baking) according to this highly scientific diagram:
For reference, this is what an Adipose
looks like in the show. They are literally
little blobs of fat with faces.
Fairly self-explainatory


I added the chocolate chip eyes after I took them out of the oven, but I'm not sure it matters.  I also made witty little signs for each of the snacks.

We also had two crafts. We decorated TARDIS keys.  The husband of one of my coworkers works for a car dealership, and he gave us a box of old key blanks that were no longer in use, and we decorated them with glitter (to make them look more space-like, or something). That was easy and fun.

Oooo.... spacey.
We also made bow-ties for shirts or hair bows, which I detailed in a previous post, and we had (like last time) our stand-up TARDIS made out of a folding partition.  We got permission to make it into a permanent TARDIS, so I attacked it with the hot glue gun, lots of felt, and a little bit of paint. I'm not sure I didn't like the paper one better, but at least we don't have to assemble it every time now.

We also have the TARDIS that's been painted on our elevator door for a while now,
Why erase a beautiful thing?
and I made a cardboard Dalek.  Originally, it was supposed to be a standee that you can put your face through and take a photo, but I liked it too much to cut a hole in it, so we just let him be a decoration and scare people who dared to turn the corner. 
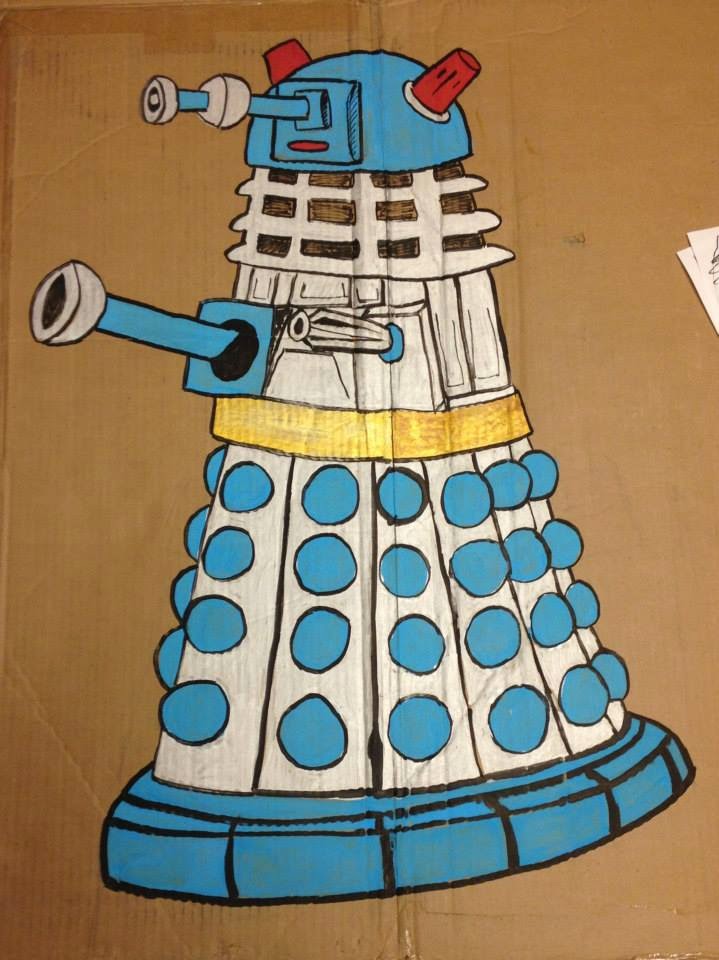
EXTERMINATE!
The episode we watched was "The Day of the Doctor," which was the special 50th anniversary episode of the show, for those not in the know.  (I know... 50 years! I have so much catching up to do!) I had expected that some people would watch while others ate snacks and/or did crafts, but I was wrong. Everyone - to a person - sat and watched the show, and then ate snacks and did crafts. Apparently it was too awesome of an episode to distract yourself from.

OH! We also had "pin the face on Lady Cassandra." In the show, Lady Cassandra is the last human alive, but she's had so much plastic surgery that she ends up looking like a flat piece of pizza dough with a face. 
"Moisturize me! Moisturize me!"
I made that shape out of paper and taped it to the wall, then made a bunch of faces that could be stuck on. For some baffling reason, I don't have a photo of that.  I'm sure you can figure it out.  I had also intended to write out "Bad Wolf" on the floor with tape, but I forgot until it was too late.

All in all, it was an amazing program, and a fantastic day.  Lots of prep work, but totally worth it.  People came in costume - bow ties, TARDIS hats and dresses and messenger bags, long colorful scarves... No weeping angels this time, though.  

Would I do it again? Yes, in a heartbeat. Maybe not with Lady Cassandra this time, unless she was just up for decoration.  Honestly, though: I used to be ashamed to be a geek, and I would hide it when I'd get excited about all the weird stuff (that is: not girly, not cool, not socially acceptable... like sci-fi and fantasy books, and Star Trek, and historical fiction, and musical theater) that I liked. But not anymore! I embrace it, and celebrate it, and I am not alone! There are lots of us... and we have awesome parties.

Friday, August 1, 2014

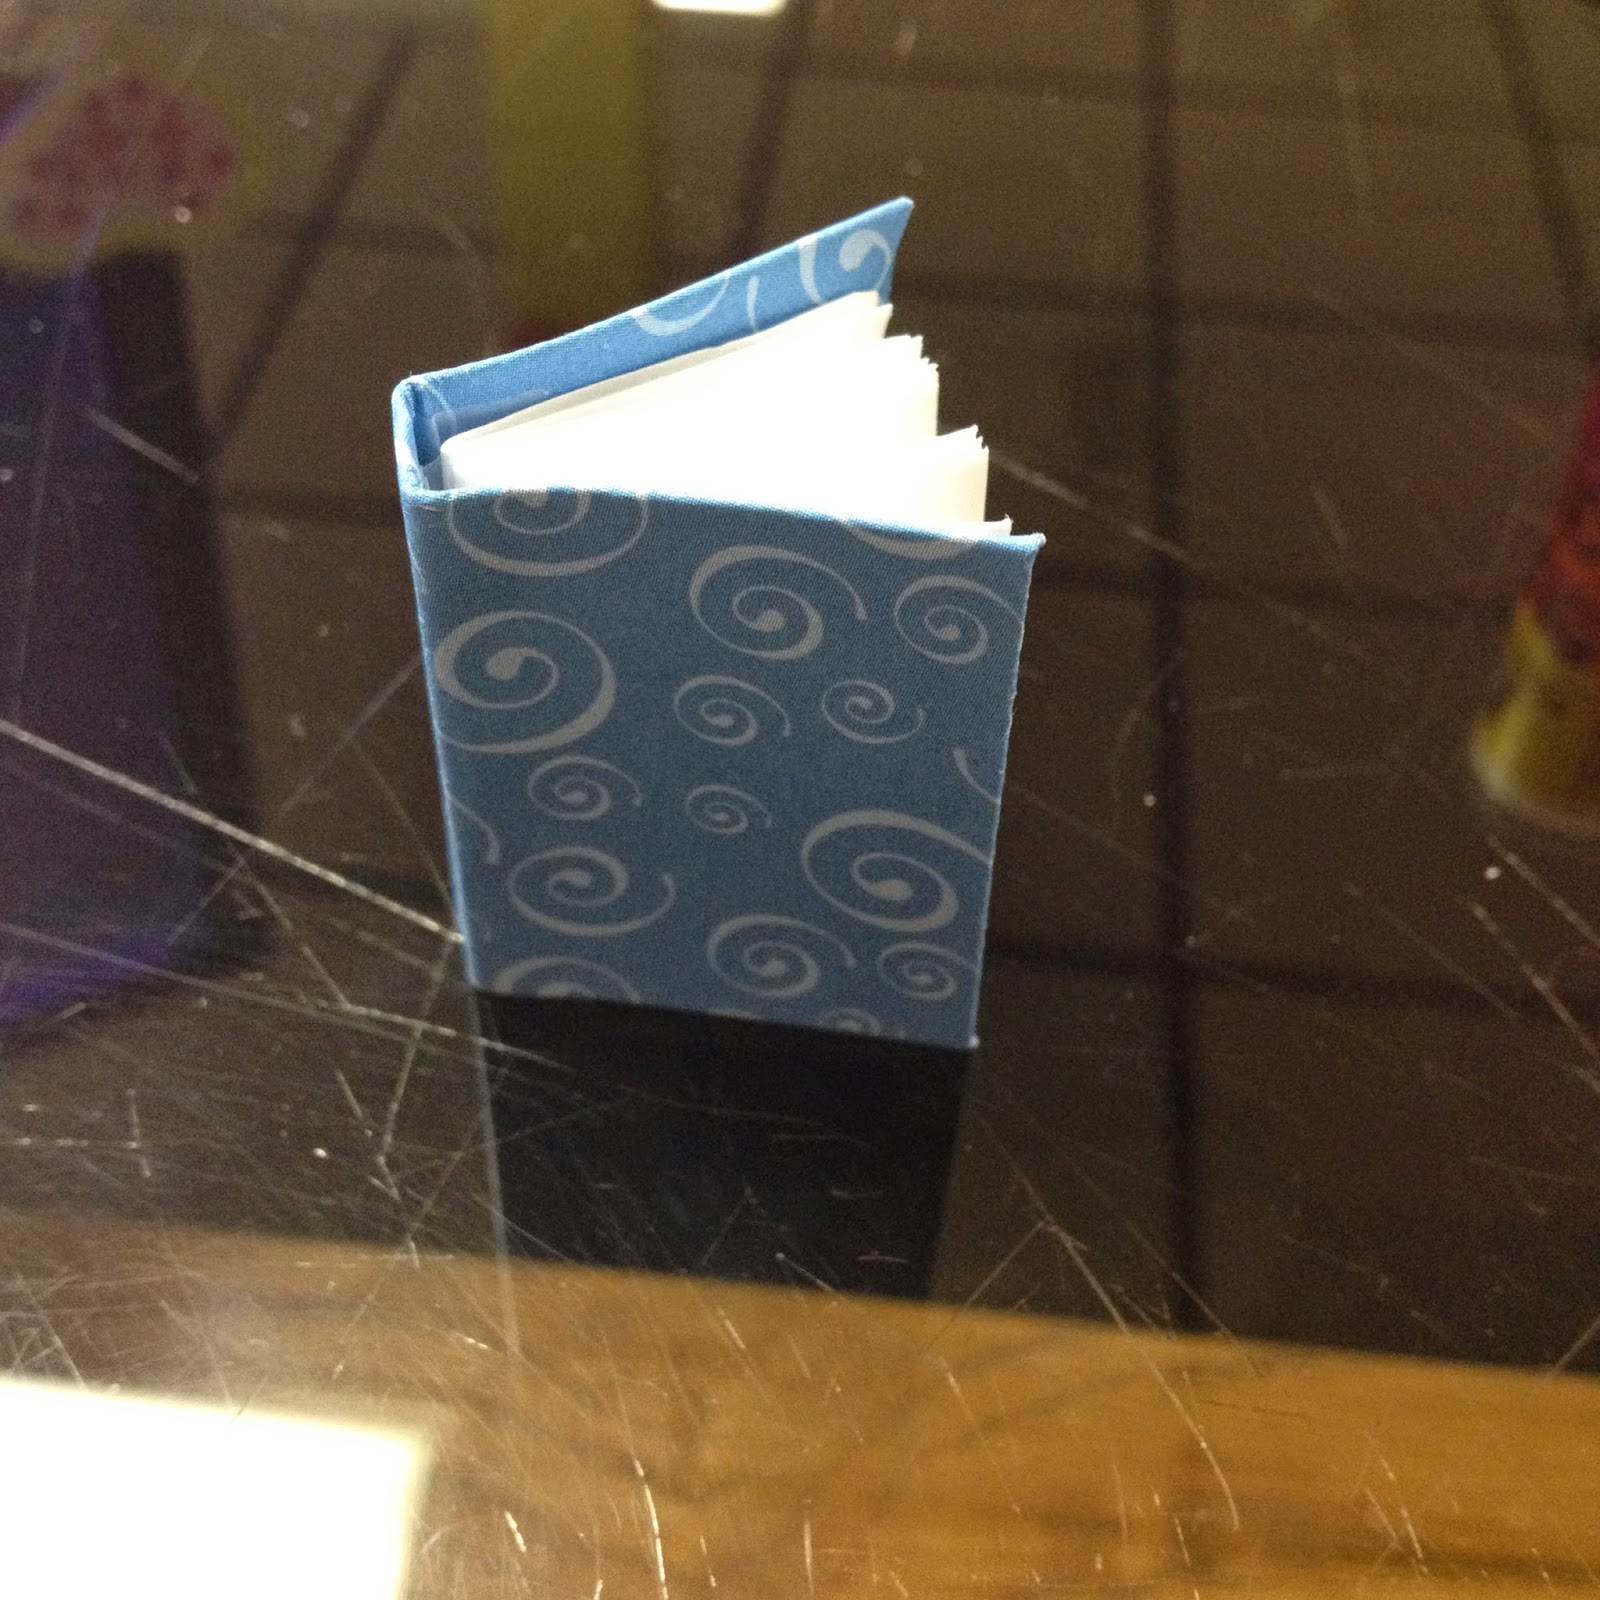
DIY YA: Book Necklaces

I didn't realize it was backwards. Whoops.
Our next foray into wearable art is the book necklace. I made a sample over a month ago, and I very often get comments when I wear it (usually, "where did you get that?"). It isn't hard to make one of your own, but there are several steps involved.  Here's how:

You Will Need:
* One sheet of plain, white paper (printer paper works)
* Card stock or thin cardboard (NOTE: I used white card stock for this project this time, because I had several sheets on hand, but I have done this before with a cereal box; because we are covering the book, it doesn't matter if there is a pattern on the cardboard or not.)
* Colored or patterned paper, for the book cover
* Scissors, tape, glue, ruler
* Necklace string
* Clasps (optional)
* Thumbtack or needle, to make a hole for the string
Not pictured: string, because I forgot it until after I took the photo.
Step One: Folding
- Fold the white paper in half from top to bottom, and cut along the fold.
- Take one of the half-sheets and fold it in half, and in half again, and again, and again.  You want 16 small rectangles.

Step Two: Cutting
- Cut out the rectangles; you will need 12 for this project. You can recycle the other 4, or use them for bookmarks.

Step Three: More Folding and Stapling
- Group the paper into 4 groups of 3 rectangles each.
- Fold each group in half, and staple along the crease. You should have 4 small paper books.
In progress.
Step Four: Taping
- Tape two of the stapled bundles together at the spines; repeat with the other two.
- Tape all four of the little books into one big book.


Step Five: Card Stock
- Set the pages aside and measure out a cover for your book out of card stock.  I found that it worked best if it measured 2.75" x 1.5". When we did this project at the library, I had all the covers pre-cut, so we didn't have to fuss with rulers and pencils and such.
(Why? It needs to be slightly taller than your pages are tall, and a long enough to cover both front and back of the little book, plus room for a spine. Because our little book is roughly 1.25" tall by 1" wide, this seemed to fit well.)
I know you're all jealous of my Woody the Owl ruler, but I'm not selling it.
Step Six: Making a Spine
- Before adding patterned paper, I folded my little book cover around the pages, pressing down to make a nice square spine. This step is optional, but I find that it makes it easier to put together in the end.

Sometimes it helps to see it, not just read it.
Step Seven: Adding Patterned Paper
- Cut a piece of patterned paper that's slightly bigger than your book cover.  I found it easiest to lie my card stock on the wrong side of the patterned paper, then drawing a rectangle around it, making sure to leave 1/4" or so of room for glue.
- Glue the card stock to the blank side of the paper, and then cut off the corners.

Step Eight: More Tape
- Tape down the patterned paper on all four sides, then re-crease the card stock to make it into a book shape again.

- Make a bubble of tape and apply it to the inside of the book cover, on the spine. Press the pages into the tape and hold tightly. You now have an adorable little book!
It's so cute!!
Step Nine: Making a Necklace
- Take a needle or a thumbtack and make a hole toward the top of the spine of your book. Wiggle it around until it's big enough to thread some string through. (Alternately, you can use a jump ring, but I didn't have any of those on hand.)
- Thread a string through the book spine, and cut it to the appropriate length.  Either you can tie your string ends and slip the necklace over your head, or you can add a clasp.

Enjoy!
Miss Kat's Notes:
- Yes, this is held together with mostly tape, but I've had mine for over a month and it hasn't fallen apart yet. I assume you could glue it, but I haven't had the need.
- If you are using cardboard with a pattern on it that you don't want to see, be sure to glue that side of the cardboard to the paper, thus hiding the Trix Rabbit.
- You could get really fancy and print out or draw a tiny copy of your favorite book cover and use that to cover the card stock. I found that I enjoy having a generic book, rather than a specific one, but it's up to you.

Thursday, July 31, 2014

DIY YA: Galaxy Shirts

This project is easy. Like, really easy. Deceptively easy. Even though it looks hard enough that people have asked, "do you really think I'll be able to do that?" (The answer is, of course, yes.)
Here's a close-up of my finished shirt. You can't tell me it isn't awesome, since that would be a lie.
You will need:
* One black t-shirt for each participant
* A spray bottle with a mix of bleach and water (I used half bleach and half water, but it's up to you)
* Fabric paint in various colors, including white (I have seen this done with acrylic paint, but haven't tried it)
* Brushes, sponges, and paper plates to mix paints
* A toothbrush or other small brush (optional, but recommended)

Step One: Preparation
Take your ordinary, boring black shirt, and give it a spritz with bleach solution, making sure to get both front and back of the shirt.  I found it helped to get some areas wetter than others, so you have a pattern of light spots on your shirt, which will be the background of your galaxy.  Let the shirt dry completely - I prepared our shirts the day before painting.  (Optional step: wash and dry your shirt; this keeps the bleach from eating away too much of the fabric.) Be careful not to get any bleach on yourself! I did this outside on the lawn, so we didn't get bleach all over the carpet.

The bleach with react with a black shirt to make it orangey-gray, depending on how much bleach you use.
 Step Two: Painting
Lie your shirt flat on the grass, sidewalk, or other flat-ish surface. (You can put cardboard inside the shirt if you like, but I found that not using cardboard gave the paint more depth, since it wasn't all flat.)  Mix up whatever colors of paint you'd like on your shirt.  We had red, light blue, dark blue, yellow, and glow-in-the-dark, which we mixed to make lovely greens, purples, oranges, and such.

Step Three: Background
Using a brush or sponge, dab paint VERY LIGHTLY on your shirt. You can always paint more, but you can't take paint off, so you want to use a very light touch and paint multiple coats, until you get the colors that you want.  (At least, that's what I did.  One of my teens used a heavier hand, and her shirt looks AMAZING.)
It looks better in person, I swear.
Step Four: Stars
When you have the colors how you want them to be, you can use a small brush or toothbrush to flick small drops of white onto your shirt, for stars. I was able to find white paint in a spray bottle, so we used that instead of flicking paint, which can be messy.
I'm afraid it's hard to see in this photo, but the white stars DO make a difference.
Step Five: After painting
Let your shirt dry for 72 hours, and then turn your shirt inside-out and tumble-dry in your clothes dryer to help the paint set.  Then, wash and wear as desired.
Ta-da! Here's my torso in my finished shirt.

Thursday, July 17, 2014

Doctor Who Party - Bow Ties

Bow ties are cool.  Didn't you know? It's because the 11th Doctor wears bow ties. And we all want to be just like him, so... let's make some bow ties! I'm wearing mine in my hair, but you could just as easily pin it to your shirt.
I've always been very stylish.
What You Need:
The photo is sideways, but still valid.
* 1 1/2" wide ribbon
* 1/2" wide ribbon
* Glue gun
*Bobby pin
*Needle and thread (optional)

Step 1:
Decide what size bow you would like; mine is about 4" long, which seems like a good size for this width of ribbon.  Cut your ribbon twice the length of the tie you want, plus about half an inch to overlap.  (For my 4" bow, I cut my ribbon just about 8 1/2" long.)  Cut a piece of your thinner ribbon about 3" long.

Step 2:
Fold your ribbon so that the two ends overlap. Using a drop of hot glue, carefully glue the ribbon to itself.

Step 3:
Accordion fold.
Accordion fold your ribbon, and either glue it together, or use your needle and thread to secure it.  If using a needle and thread, I find that it works well to sew completely through the fold, then wrap the thread around and tie it tightly.
It doesn't matter what color thread you use, since it'll be covered up.
Step 4:
Glue one end of the short ribbon to the top of the back (the glued side) of the bow, and wrap it completely around the middle, starting going down the back of the bow.  Glue the end of the ribbon to itself once it's wrapped completely around.
Like this. Does this photo make sense?
Step 5:

Slide a bobby pin (or other fastener - an elastic, a headband, or an alligator clip would work) through the middle portion of the bow.  Attach and enjoy.

The Finished Product:
Ta-Da!

Tuesday, July 15, 2014

DIY YA: Book Safes

What's a bibliophile to do when there are books that won't be read anymore?  Turn them into art!
And give Batman a new place to hide.
We took old books that were never going to be read again and turned them into book safes.  (What's a book safe?  It's a book that looks normal on the outside but is hollow on the inside, so you can hide your treasures in it.)

Here's what you need to make your own:
*  An old book, preferably one that isn't worth anything
*  A box cutter or Exact-O knife
*  A ruler or other straight edge (we used large craft sticks)
*  Glue (we used tacky glue, but other kinds should work as well)
*  Water (to mix with the glue)
* A small cup (to mix the glue and water in)
* A paintbrush, preferably one that you can throw away after
* A piece of scrap paper big enough to cover a whole book page

Step One:
Choose your book.  Open it up by a chapter or two, so if someone opens the cover, it just looks like a normal book.  Mix the glue with just a little bit of water until it's the consistency of paint.  Holding the book open, paint the outside edges of the book with the glue. 

Opening the book up by a chapter or so gives the hiding place some cover, if someone opens the cover.
Step Two:
Put your piece of scrap paper into the book on top of the glued pages, and close the book.  This is to keep the pages you glued from sticking to the pages before that point, so it won't all stick together and glue the whole book closed.  Put your book under a few heavy books (we used dictionaries) and leave it to dry completely, if possible.  (When we did this craft at the library, we didn't have time to let the glue dry completely, so we gave it about 20 minutes.)

Step Three:
Once your book is dry (or you're tired of waiting), open the book and carefully remove the scrap paper.  Using your straight edge, draw a box around the part of the book that you want to hollow out, making sure it isn't too close to the edges, since you want a nice, strong box. 
I traced around the words, since that seemed like a good size.
Step Four:
Being very careful, use your box cutter to cut down the lines you've drawn, making sure not to cut toward yourself.  I found it useful to cut perpendicular to myself, turning the book and repeating as necessary until the hollow space is as deep as you want it.  This can take a while, since you're only cutting through a few pages at a time.  Have patience! If you're getting frustrated,
it may be time to take a break and come back to it later.

Sometimes it's helpful to cut diagonally to lift the pages out.
Step Five:
Once the hole is as deep as you'd like it to be, take your watery glue again and paint the insides of the cut edges of the book.  This is the time to repaint the outer edges of your book, if it came loose at all while you were working on the inside.

Step Six: 
Dry completely, and enjoy!

It doesn't look like much? Good! It's not supposed to!
A Few Notes:
* Corners are tricky.  I found it helpful to start in the corner and cut toward the middle, then start at the opposite corner and cut toward the middle.  It's very hard to end a cut at the corner.
* If your pages have fuzzy edges, you can shave them down with the edge of the box cutter.
* Remember, you can always take a break and come back later.  This one takes some time.

Stay tuned for some of our upcoming DIY YA projects, including Galaxy shirts, Doctor Who crafts, and delicious flavored lip balm!